Admin Features
Audio Guide
1. Introduction
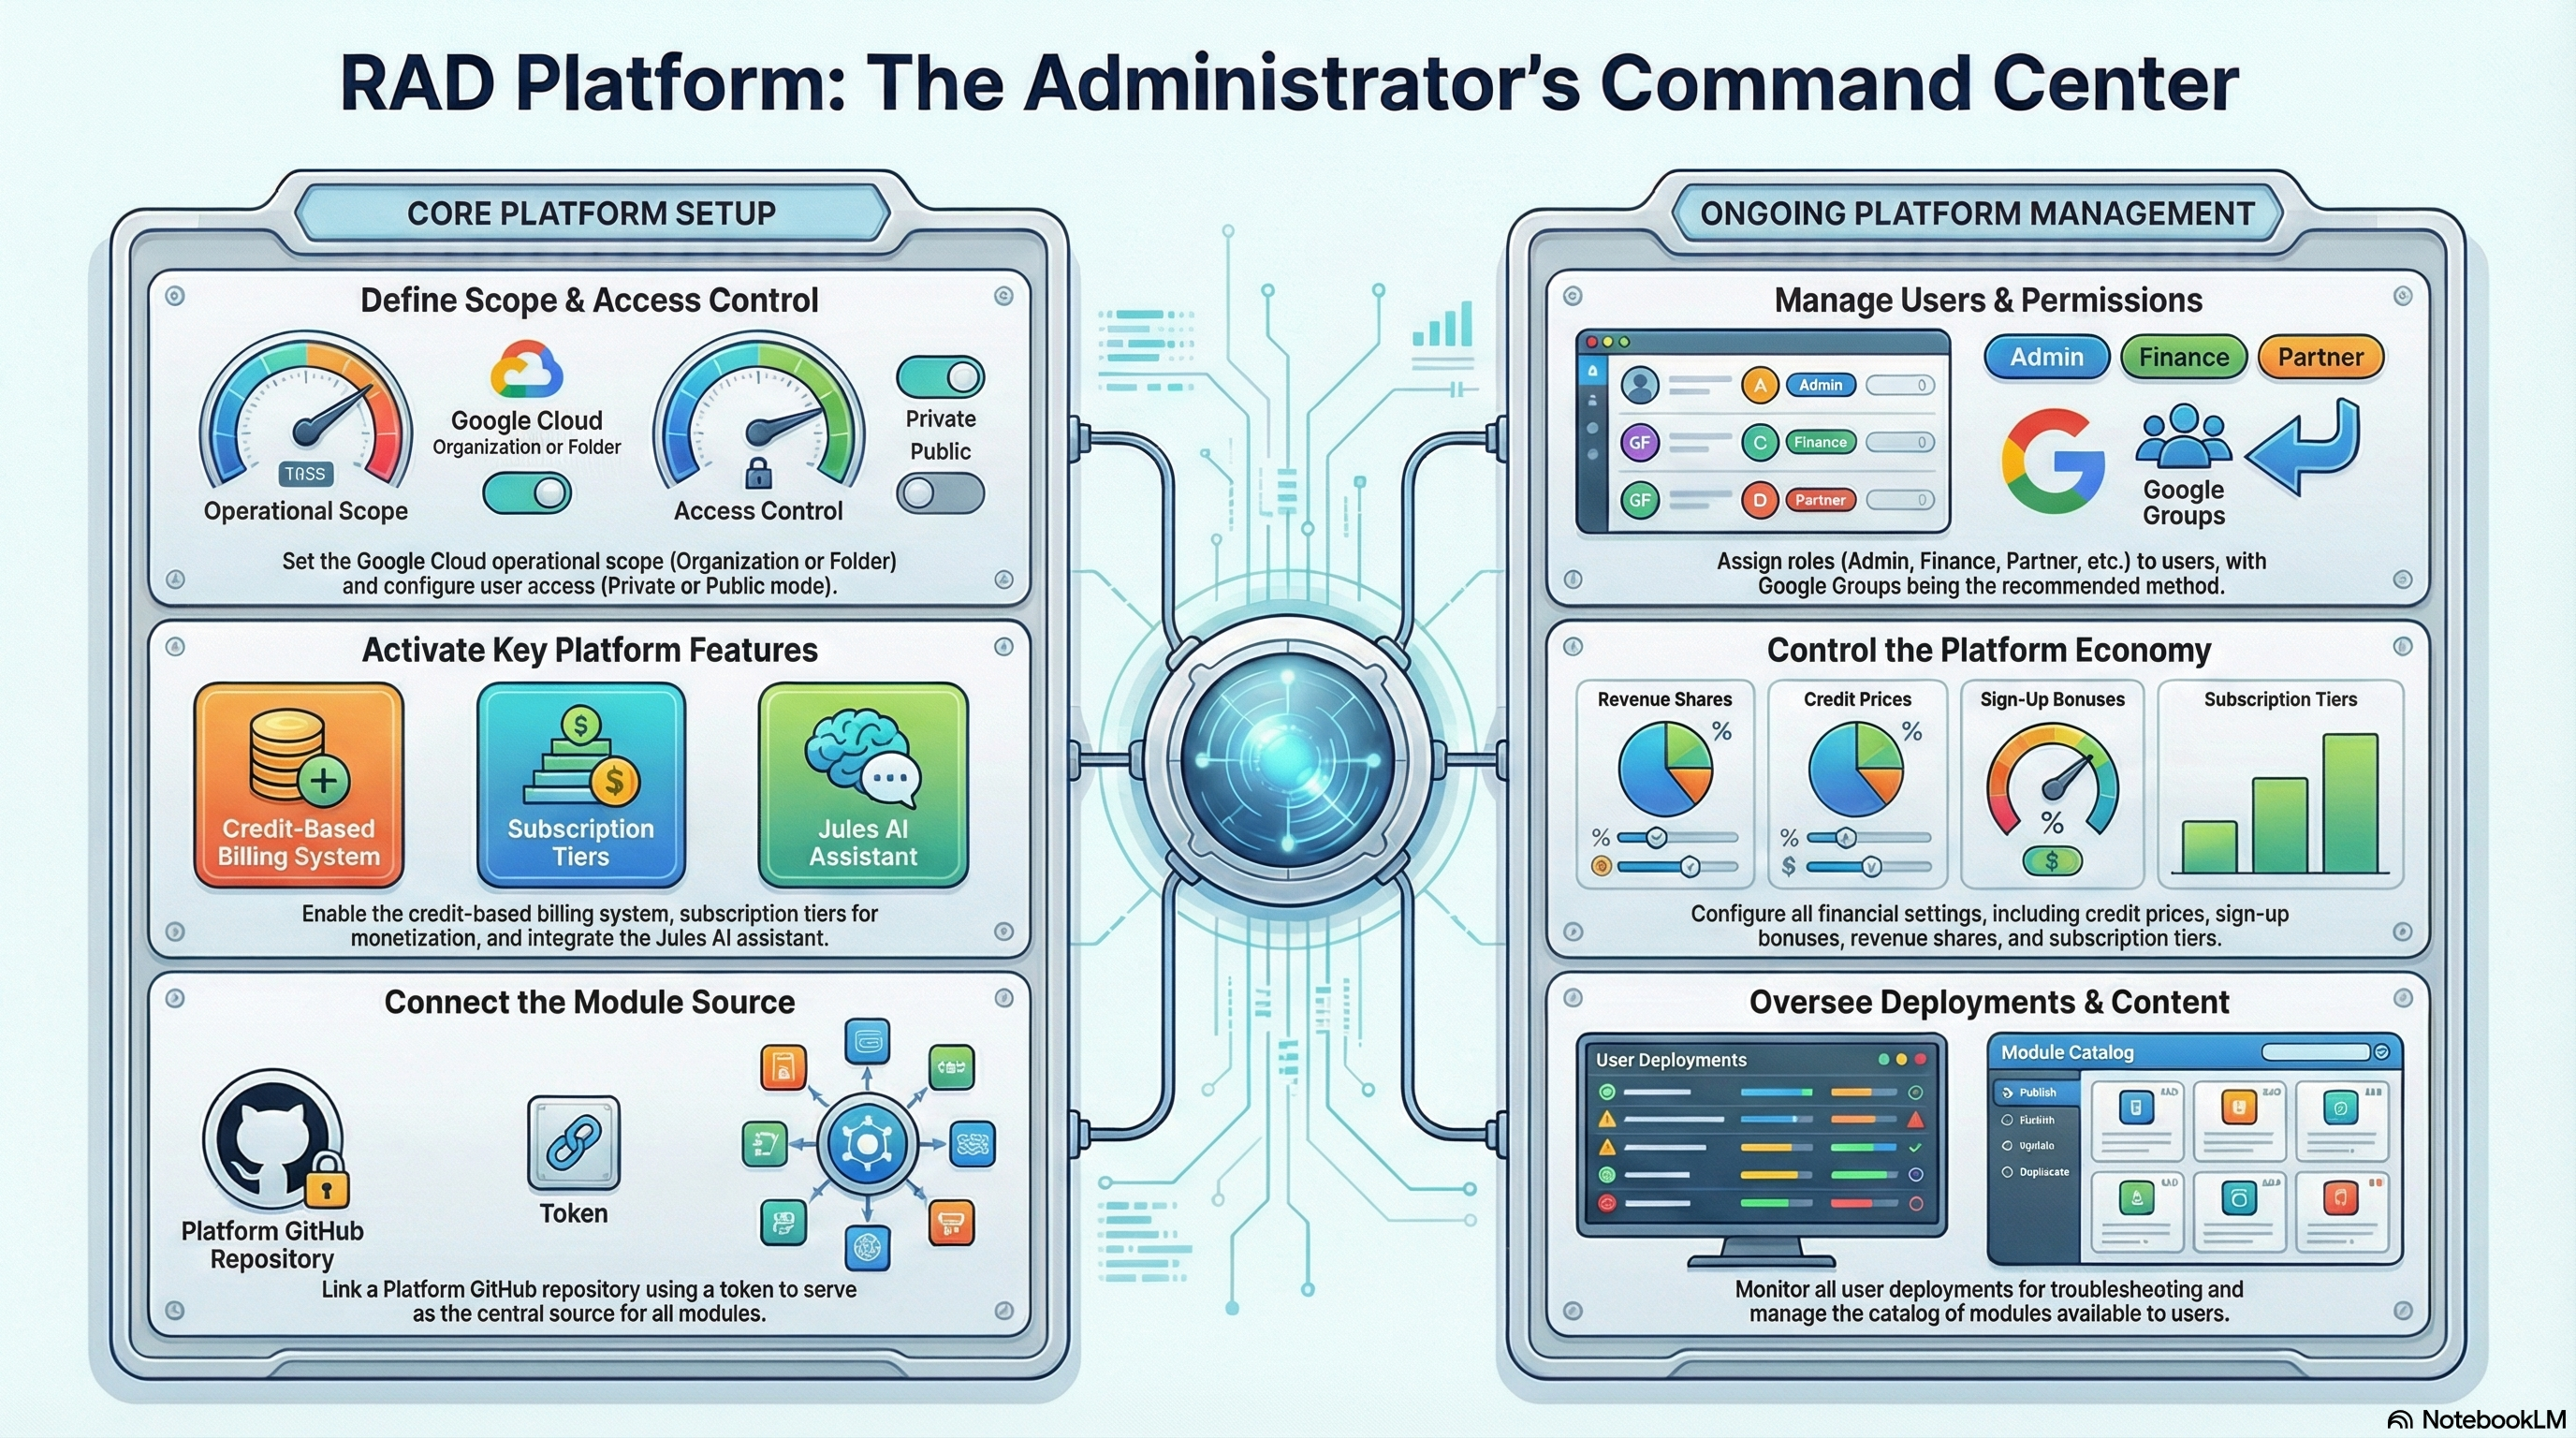
Welcome to the Administrator Guide for the Rapid Application Deployment (RAD) platform. As an administrator, you have full control over the platform's configuration, user management, billing, and deployment oversight. This guide will walk you through your key responsibilities and the tools available to you.
2. Platform Setup & Global Configuration
The Setup page is your command center for configuring the platform's behavior. It is a one-time setup wizard that can be revisited whenever you need to change global settings.
2.1. Accessing Settings
Navigate to the Setup link in the main navigation bar. Alternatively, you can access these settings by clicking the Admin Settings button on the "All Deployments" tab of the Deployments page.
2.2. Key Configurations
- Deployment Scope:
- Organization ID: The Google Cloud Organization ID where resources will be provisioned.
- Folder ID: (Optional) The specific Google Cloud Folder ID to contain deployments.
- Enable Folder Scope: If enabled, operations are limited to the specified Folder ID. Uncheck to operate at the Organization level.
- Access & Privacy:
- Private Mode:
- Enabled: Access is restricted to authorized users only. New users cannot self-register and must be manually added by an administrator.
- Disabled (Default): Public registration is open. New users can sign up and access the platform automatically.
- Private Mode:
- Features: Enable or disable major modules:
- Enable Credits: Turns on the credit-based cost management system.
- Enable Subscription: (Requires Credits) Activates the subscription tier system and payment provider integration.
- Billing Account ID: The Google Cloud Billing Account ID to associate with created projects.
- Notification Settings:
- Email Notifications: Enable to send email notifications to Trusted and Owner groups.
- Support Email: The email address for the support team.
- Mail Server Email: The email address used for sending system notifications.
- Mail Server Password: The application password for the mail server.
- Cleanup & Retention:
- Cleanup Schedule: Define how often automated cleanup jobs run (e.g., Daily, Weekly, Monthly).
- Retention Period: Set a period (e.g., 90 days) to automatically delete old deployment records.
- Enable Soft Delete: Enable a grace period before permanent deletion.
- Soft Delete Grace Period: The number of days (default: 7) a "deleted" deployment remains in a soft-delete state before permanent removal.
- Enable Orphan Cleanup: Automatically delete orphaned records in the cloud storage bucket.
- Notify Before Delete: Enable to notify users before their deployments are permanently deleted.
3. User Management
Manage your platform's users from the Users page (accessible via the main navigation).
3.1. Managing Users
- View Users: See a searchable, paginated list of all registered users.
- Activate/Deactivate: Toggle the "Active" checkbox to grant or revoke login access. Deactivating a user removes them from all access groups.
- Assign Roles: Click the Edit button on a user row to toggle the following role checkboxes, then click Save:
- User: Standard access to deploy platform modules.
- Partner: Grants access to the "Publish" tab for deploying private modules and viewing "Partner Revenue".
- Agent: Grants access to "Agent Revenue" reporting for their referred users. Note: This role checkbox is only visible when subscriptions are enabled.
- Finance: Grants access to the "Billing" page for financial settings, subscription tiers, and reports. Note: This role checkbox is only visible when subscriptions are enabled.
- Support: Grants access to view "All Deployments" across the platform to assist with troubleshooting, but restricts access to sensitive settings.
- Note: Admin accounts are marked with a badge. Use caution when modifying Admin accounts to prevent accidental lockouts.
4. Credit & Billing Management
The Billing page is your financial hub.
Important: Access to the Billing page requires the Finance role. Additionally, the Enable Subscription setting must be turned on in the Global Configuration for the Billing page to function. If subscriptions are disabled, the Billing page will display a warning and hide all controls.
4.1. Subscription Tiers
- Go to the Subscription Tiers tab.
- Create, Edit, and Delete subscription packages.
- Define the Name, Price, Payment Provider Price ID (Stripe or Flutterwave), and Credit amount for each tier.
4.2. Credit Settings
- Credit Settings Tab: Configure the economic model:
- Price Per Credit: Exchange rate (e.g., 100 credits = $1).
- Sign-up Credits: Free credits for new users. Can be configured to be a one-time bonus or a monthly recurring grant.
- Referral Credits: The amount of credits awarded to a referrer when a new user signs up using their referral code.
- Maximum Referrals: Cap the number of referrals a user can make per month. Set to -1 for unlimited.
- Global Adjustments: Grant/remove credits from all users.
- Low Credit Notification Threshold: Set a credit balance amount (e.g., 100). Users with a balance below this amount will receive an automated email notification (sent at most once every 24 hours).
- Credits Per Hour: The rate at which credits are consumed by active deployments.
- Refresh Interval: How often (in hours) the system checks active deployments and deducts credits.
- Agent Revenue Share: The percentage of "True Revenue" generated by a referred user that is allocated to the referring Agent.
- Partner Revenue Share: The percentage of "True Revenue" generated by a module that is allocated to the Partner who published it.
- Credit Management Tab: A dedicated table to manually adjust the "Awarded" or "Purchased" credit balance for individual users.
4.3. Financial Reports
- Project Costs: Analyze historical spending trends across all deployments.
- Partner Revenue: See which partner-published modules are generating the most "True Revenue". True Revenue is defined as the deployment costs that are paid for specifically with Purchased Credits (real money), excluding costs covered by free Awarded Credits.
- Agent Revenue: Monitor commissions and revenue driven by your Agents based on their referred users' deployments.
- Project Invoices: View and export monthly cost breakdowns for every project.
True Revenue Calculation: Revenue is calculated based on "True Revenue," which counts only deployments paid for with Purchased Credits. Deployments covered by free "Awarded Credits" (e.g., sign-up bonuses) are excluded from revenue totals to ensure accurate financial reporting.
4.4. Managing Your Own Credits
If you also hold the User role, you can manage your personal credit balance, view your transaction history, and purchase credits on the Credits page, accessible from the main navigation.
5. Managing Deployments
You have complete visibility into all activity on the platform. The Deployments page offers two distinct views for administrators:
- All Deployments Tab: Displays every deployment across the entire platform, regardless of who created it.
- Admin Settings Button: Located here, this button provides quick access to the global Setup page.
- My Deployments Tab: Displays only the deployments you have personally created.
- Create New Button: Located here, this button allows you to launch a new deployment.
- Search: Use the search bar to find deployments by Module Name, Deployment ID, or User Email.
- Ratings: View the 1-5 star ratings given by users to gauge user satisfaction with specific modules.
- Logs & Debugging: Click on any Deployment ID to view its full build logs, status history, and configuration variables.
- Purge vs. Delete:
- Delete (Soft Delete): This is the standard action. It marks the deployment for deletion, triggers a resource cleanup, but retains the record for the defined retention period.
- Purge (Hard Delete): This is a force-cleanup action. It immediately triggers an aggressive resource removal pipeline (
DEPLOYMENT_ACTIONS.PURGE) and removes the deployment record once complete. Use this for stuck deployments or when immediate cleanup is required.
6. Publishing Platform Modules
You are responsible for the catalog of standard modules available to all users.
- Configure Repo: Ensure your Platform GitHub Repository is configured in your Profile (see section 2.4).
- Publish: Go to the Publish page. You will see a list of modules found in your repo.
- Refining Modules with Jules: Click the Sparkles icon on any module card to open the Jules AI Refinement tool. Jules can help you improve code, add documentation, or fix bugs before publishing.
- Select & Save: Select the modules you want to make public and click "Publish" (or "Update"). These will immediately appear on the "Deploy" page for all users.
7. Help & Communication
The Help page provides tools for communication and platform documentation, organized across multiple tabs:
- Support Tab: As an admin, this tab displays the Send Message form, allowing you to broadcast messages to all users or specific groups.
- Platform Demos Tab: View demonstration videos and showcases for platform features.
- Platform Workflows Tab: Browse documented platform workflows.
- Platform Guides Tab: Access user guides and documentation for each role.
- Platform Features Tab: Explore and review the platform's feature catalog.
8. Profile & Notifications
Click your avatar in the top right to access your Profile page, where you can manage:
- Notification Settings: Toggle Deployment Notifications and Billing Notifications on or off to control which email alerts you receive.
- Admin Settings: Configure your Platform GitHub Token, Repository, and Jules API Key (see sections 2.3 and 2.4).
- Account Management: View your account email. If needed, you can delete your account from this page (requires email confirmation).
- Theme: Toggle between Light and Dark mode using the sun/moon icon in the navigation bar.